
Minecraft offers players the chance to personalize their in-game appearance with custom skins, adding a unique touch to the gaming experience. Crafting your own Minecraft skin is a creative and fun way to express individuality in the game. Explore the options below for a guide on creating your custom skin, enhancing your enjoyment of Minecraft’s pixelated world.
Understanding Minecraft Skins
A Minecraft skin is the design applied to the player character’s model, determining its appearance in the game. Skins are made up of simple PNG images that are laid onto the game’s 3D models.
Tools You’ll Need
- Minecraft Skin Editors: These are online tools or apps specifically designed for creating Minecraft skins, such as Skindex, NovaSkin, or Minecraft Skin Editor.
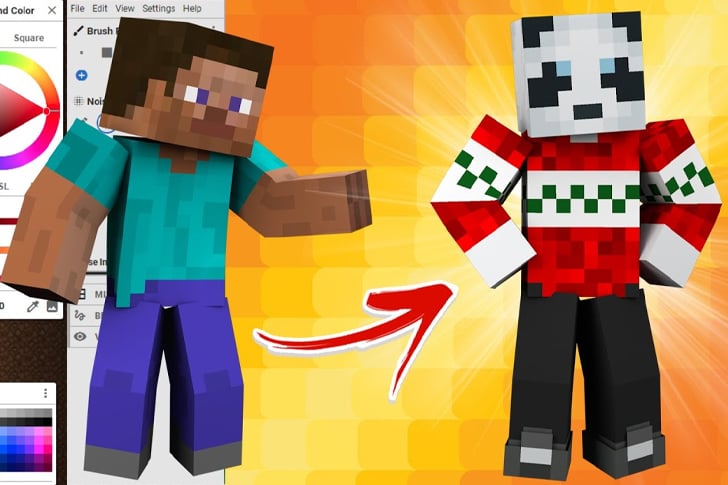
- Image Editing Software: Advanced users can use software like Adobe Photoshop or GIMP, but these require more skill and understanding of Minecraft’s skin layout.
Step-by-Step Guide to Creating a Skin
- Choose a Skin Editor: Select an online skin editor that is user-friendly and suits your skill level.
- Start with a Template: Most editors provide a default skin template. You can start editing this template or choose an existing skin to modify.
- Understanding the Skin Layout: A Minecraft skin is made up of different sections that wrap around the character model – each part (head, body, arms, and legs) has its front, back, and sides.
- Editing Your Skin: Use the editor’s tools to paint your skin. You can select colors, use brushes, and even add patterns or text.
- Adding Details and Textures: Pay attention to details. Adding textures and shading can make your skin more dynamic and realistic.
- Using Layers: Some editors allow working with layers, making it easier to edit complex designs without affecting the base colors.
- Previewing Your Skin: Regularly preview your skin in 3D to see how it looks on the character model.
Saving and Uploading Your Skin
- Save the Skin: Once you’re satisfied with your design, save the skin file as a PNG.
- Upload to Minecraft: Log into your Minecraft profile on the game’s official website, and upload your new skin under the “Skin” section of your profile.
Tips for Designing Your Skin
- Be Creative: Let your imagination run wild. Your skin can be anything from a medieval knight to a space alien.
- Keep It Simple: Especially if you’re a beginner, start with simple designs and gradually move to more complex ones.
- Get Inspired: Look at other skins for inspiration but avoid copying someone else’s design.
- Use the Right Colors: Pay attention to color selection for better aesthetics.
Testing Your Skin in the Game
After uploading your skin, launch the game to see how your skin looks in the Minecraft world. Test it in different environments and lighting.
Sharing and Using Others’ Skins
You can share your skin with the community or download and use skins created by others. Remember to respect copyright and credit original creators.
Common Issues and Solutions
- Skin Not Appearing in Game: Ensure you’ve uploaded it correctly and logged into the game with the same account.
- Pixelation: Minecraft skins are low resolution; embrace the pixelated look as part of the game’s charm.
Advanced Skin Editing
For advanced users, explore detailed shading, complex designs, and even animation (for supported versions).
Staying Safe Online
When downloading skins or using online tools, ensure you’re on a reputable website to avoid malware or phishing risks.
Conclusion
Creating a Minecraft skin is an enjoyable and rewarding process that enhances your gaming experience. By understanding the basics of skin editing, using the right tools, and unleashing your creativity, you can design a unique skin that represents you in the Minecraft world. Whether you opt for a simple design or a complex masterpiece, your custom skin will add a personal touch to every adventure you embark on in the game.
Recent Comments